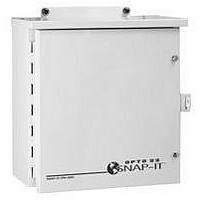
SNAP-IT-PM-ADS-PLUS OPTO 22, SNAP-IT-PM-ADS-PLUS Datasheet - Page 6

SNAP-IT-PM-ADS-PLUS
Manufacturer Part Number
SNAP-IT-PM-ADS-PLUS
Description
Controllers
Manufacturer
OPTO 22
Datasheet
1.SNAP-IT-PM-ADS.pdf
(10 pages)
Specifications of SNAP-IT-PM-ADS-PLUS
Peak Reflow Compatible (260 C)
No
Leaded Process Compatible
No
Lead Free Status / RoHS Status
Contains lead / RoHS non-compliant
QUICK START
6
1267-050202—SNAP-IT-PM Installation Guide
Inserting Modules
Up to 12 modules snap into place in the row of connectors inside the SNAP-IT unit.
1. Make sure all power to the SNAP-IT unit is off. Remove the small white fuse from the
2. Open the unit’s door and notice that each connector position has a number, beginning with
3. Position the module over the connector, aligning the small slot at the base of the module
4. With the module correctly aligned over the connector, push on the module to snap it into
WARNING: Make sure there is no power to the rack before continuing, or you may severely
damage the module.
module mounting rack.
zero on the far left (or at the bottom, depending on the SNAP-IT model).
with the retention bar on the rack.
position.
When positioning modules next to each other, be sure to align the male and female module
keys (shown in the detailed view in the illustration below) before snapping a module into
position.
Modules snap securely into place and require a special tool (provided) to remove them. If
you need to remove a module, see
page 10
for instructions.


